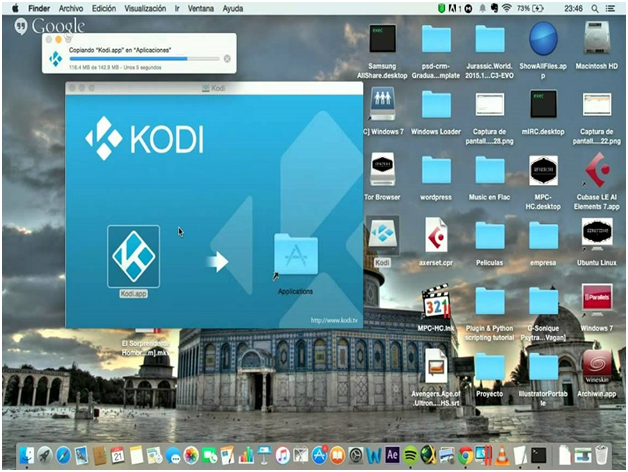
FreeTelly is the streaming app that does not require any further configuration or supporting tools. This new app is a fully custom version which allows the user to configure according to their need. If you have experience Kodi builds or streaming app, then you will get the clear idea that FreeTelly is very much different from any other streaming platform.
FreeTelly first introduces for Windows users, and now you can get those tremendous features on your Mac system. It is just a pre-configured version that custom and streams all your favorite tv addons into one place.

Before you go to the installation process, you need some safety precautions, such as a VPN. It is important because if you access Kodi addons, your system will be at open risk. In that case, you need IPVanish, this will block unnecessary ads, and users from the US & UK can avail FreeTelly without any country-blocking issue by the internet service providers. All the streaming data will encrypt with this VPN, including Kodi app access.
NOTE: FreeTelly does not work if any file error notifies on screen, so it’s better to re-install the app for better performance.
Does FreeTelly Works On Other Streaming devices?
You can also wish to configure FreeTelly on your Android device, Firestick, TV box, then you need to install Kodi and with “add the Config Wizard” you can get FreeTelly on specific devices. It is called the combo of Kodi and ConfigWizard, which you need to set up. You will get similar features as you were offered on the FreeTelly Mac/Windows system.
Does the FreeTelly app require a specific requirement for Windows and Mac?
FreeTelly developed with the simple and easiest method that no high tech hardware or software can come between FreeTelly and consumer. You can get your old Windows or Mac laptop/PC and install FreeTelly into the system. Connect your Laptop/PC with the internet and enjoy free streaming.
HOW TO INSTALL FREETELLY ON Mac
Step #1. Download the FreeTelly MAC version given in the description link and double click on the setup file to install.
Step #2. FreeTelly Setup page will pop-up on the screen where you click on the “NEXT” button and go with the instruction to complete the installation.
You need to launch the installer as an administrator, which will help you to continue the process on the MAC system and then proceed with the FreeTelly install wizard.
Step #3. Once installation completes, it will as “finish and open FreeTelly” tick that box and FreeTelly configuration setup will appear on the screen. Here you need to follow the instruction to complete the configure setup. Make sure that your system is connecting with the internet because, during this process, configuration files will start download according to your system.
Note: Make sure that the FreeTelly App launch as administrator and then you can stream without any problem on the MAC system.
Step #4. Now you have to choose the perfect place and enjoy the FreeTelly streaming on your MAC Laptop/ PC.
Related Information:
- Latest Version: 16.1
- Developed by: TV Add-OnsAdd-Ons for Kodi
- Price: Free
- File Name: FreeTellySetup.exe
Sometime during the FreeTelly installation process on the Mac system, an error occurs, which does not allow further installing process. At this point, you need to re-install FreeTelly as an Administrator. These errors are indicated to “non-admin,” which appears during or after the FreeTelly installation. So you need to go with “as administrator” for installing and launching the app.
Some example of error found by our team:
- Missing sqlite3.dll
- Missing MSVCRT.dll
- Missing vcredist_x32.exe
- Missing vcredist_x64.exe
Final Words:
You get other streaming apps and Kodi addons that provide the massive streaming content. Before streaming, you need to configure and set up the application into a suitable device as per configuration. FreeTelly is different because there is no specific hardware or software configuration required, and it is best for the first time user because there is no hard and fast rule to install FreeTelly into your MAC laptop/PC. If you get the proper installation with the help of the above guide, then share your experience in the comment box. It will help us to provide more useful information related to the content.


Reply