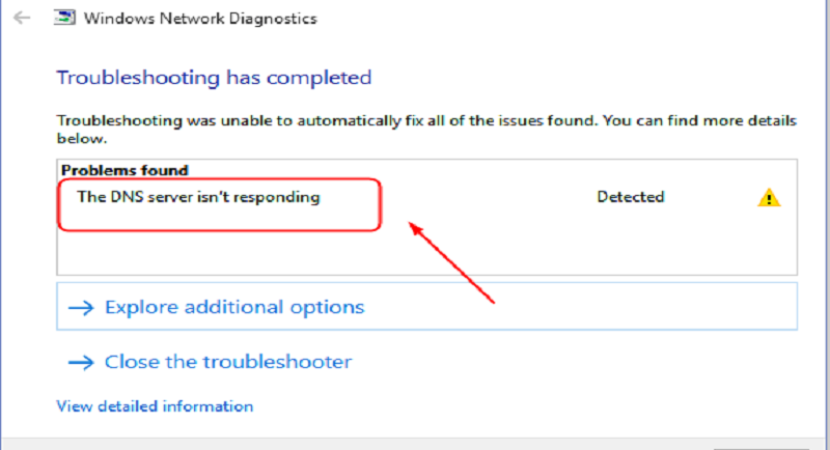
Sometimes, you may get DNS server isn’t responding on windows 7/8/10. But you must know what DNS server not responding. The problem is not so big, but the lack of knowledge makes your problem worse. So instead of waiting for some engineer who can handle this situation, its better that you teach yourself to get rid of DNS server isn’t responding error on Windows PC.
Before we go to the steps, you should know a few things that why DNS server isn’t responding to your system. In many cases, due to the manually configured, the DNS might unavailable message can appear. To stop it is user need to set DNS as automatic. Some time DNS cache also causes the problem that flushes the cache, which is the type of IP config/Flushdns.
What is the DNS server?
In simple word, it is the address which works backhand of URL such as if website URL is www.geniusgeeky.com then the DNS server IP address is 198.103.25.21. Using alphabet for every website is the easiest way to remember instead of remembering the IP address, which comes in numbers.
Best Way To Solve DNS Server Isn’t Responding
There are other methods which can help you to solve the DNS server isn’t responding problem. But due to the lengthy steps and not simple to understand by anyone we prefer these below steps. It will help you out, and you can also fix the same issue to other persons Laptop/PC.
Step #1. First, remove the Router’s power cord. After all the lights on the Router have gone out, wait at least 10 seconds. Now reconnect to the Router the power cord.
Note: This step is only to reset your Router if the problem remains then go to step #2.
Step #2. Select Start > Control Panel > View network status and tasks under Networking and Internet > Change adapter environments. Now on Local Area Connection, you need to press and hold the right mouse click and then pick Properties.
Step #3. Now press on Internet Protocol Version 6 (TCP / IPv6) > Properties and pick Obtain automatic IPv6 address > Obtain automatic DNS address > OK.
Step #4. Now press on version 4 (TCP / IPv4) of the Internet Protocol > Properties. Then select Obtain automatic IP address > Obtain automatic DNS address > OK.
Now DNS server will not solve the problem if the problem is not solved, then you need to pursue the workable solution of the Ipconfig command-line instrument.
This method is straightforward, where you need to follow only two steps.
Step #1. Go to Start and enter the command prompt and files box in the search program option, right-click Command Prompt, then select Run as administrator.
Step #2. You need to type orders in the command prompt (ipconfig / registerdns, ipconfig / flushdns, ipconfig / release, ipconfig / renew). Now, after each command, click “Enter.”
In this way, you can successfully solve the problem on your Windows 7 “DNS server not responding.”
Final Words:
Now you don’t need an engineer or some person to solve DNS server isn’t responding problem. In this way, you can start running the internet on your Windows seven laptop/PC. Our priority is always to share the useful information that makes you independent and also teaches others from our articles. If you think that we stand on our statement that share in the comment which will help us to provide more useful information to you. You can share this information with your family & friend, which does not know how to fix DNS server isn’t responding problem.

Reply